Using Tags to customize Viber content
- Create a phonebook group and import your contacts. Tags, which you wish to use, can be imported along with the numbers to the contacts group, or, if you wish, you'll be able to add or modify for each contact within our Dashboard later.

Supported caption tags are: Title, First Name, Last Name, Phone, Email, Company, Custom, Custom2, Custom3, Custom4, Blacklisted. - Create a customised Viber message
Navigate to Send Viber tab to compose your message. First, choose a group or contact to send to. You can select several groups if you wish, even if the same subscribers appear in multiple groups. Messente only sends one message per contact to avoid duplication.
Tags can only be used while sending messages to groups or contacts. The relevant tag content won't get pulled through if the recipient number is entered manually, even if this contact is in your phonebook.
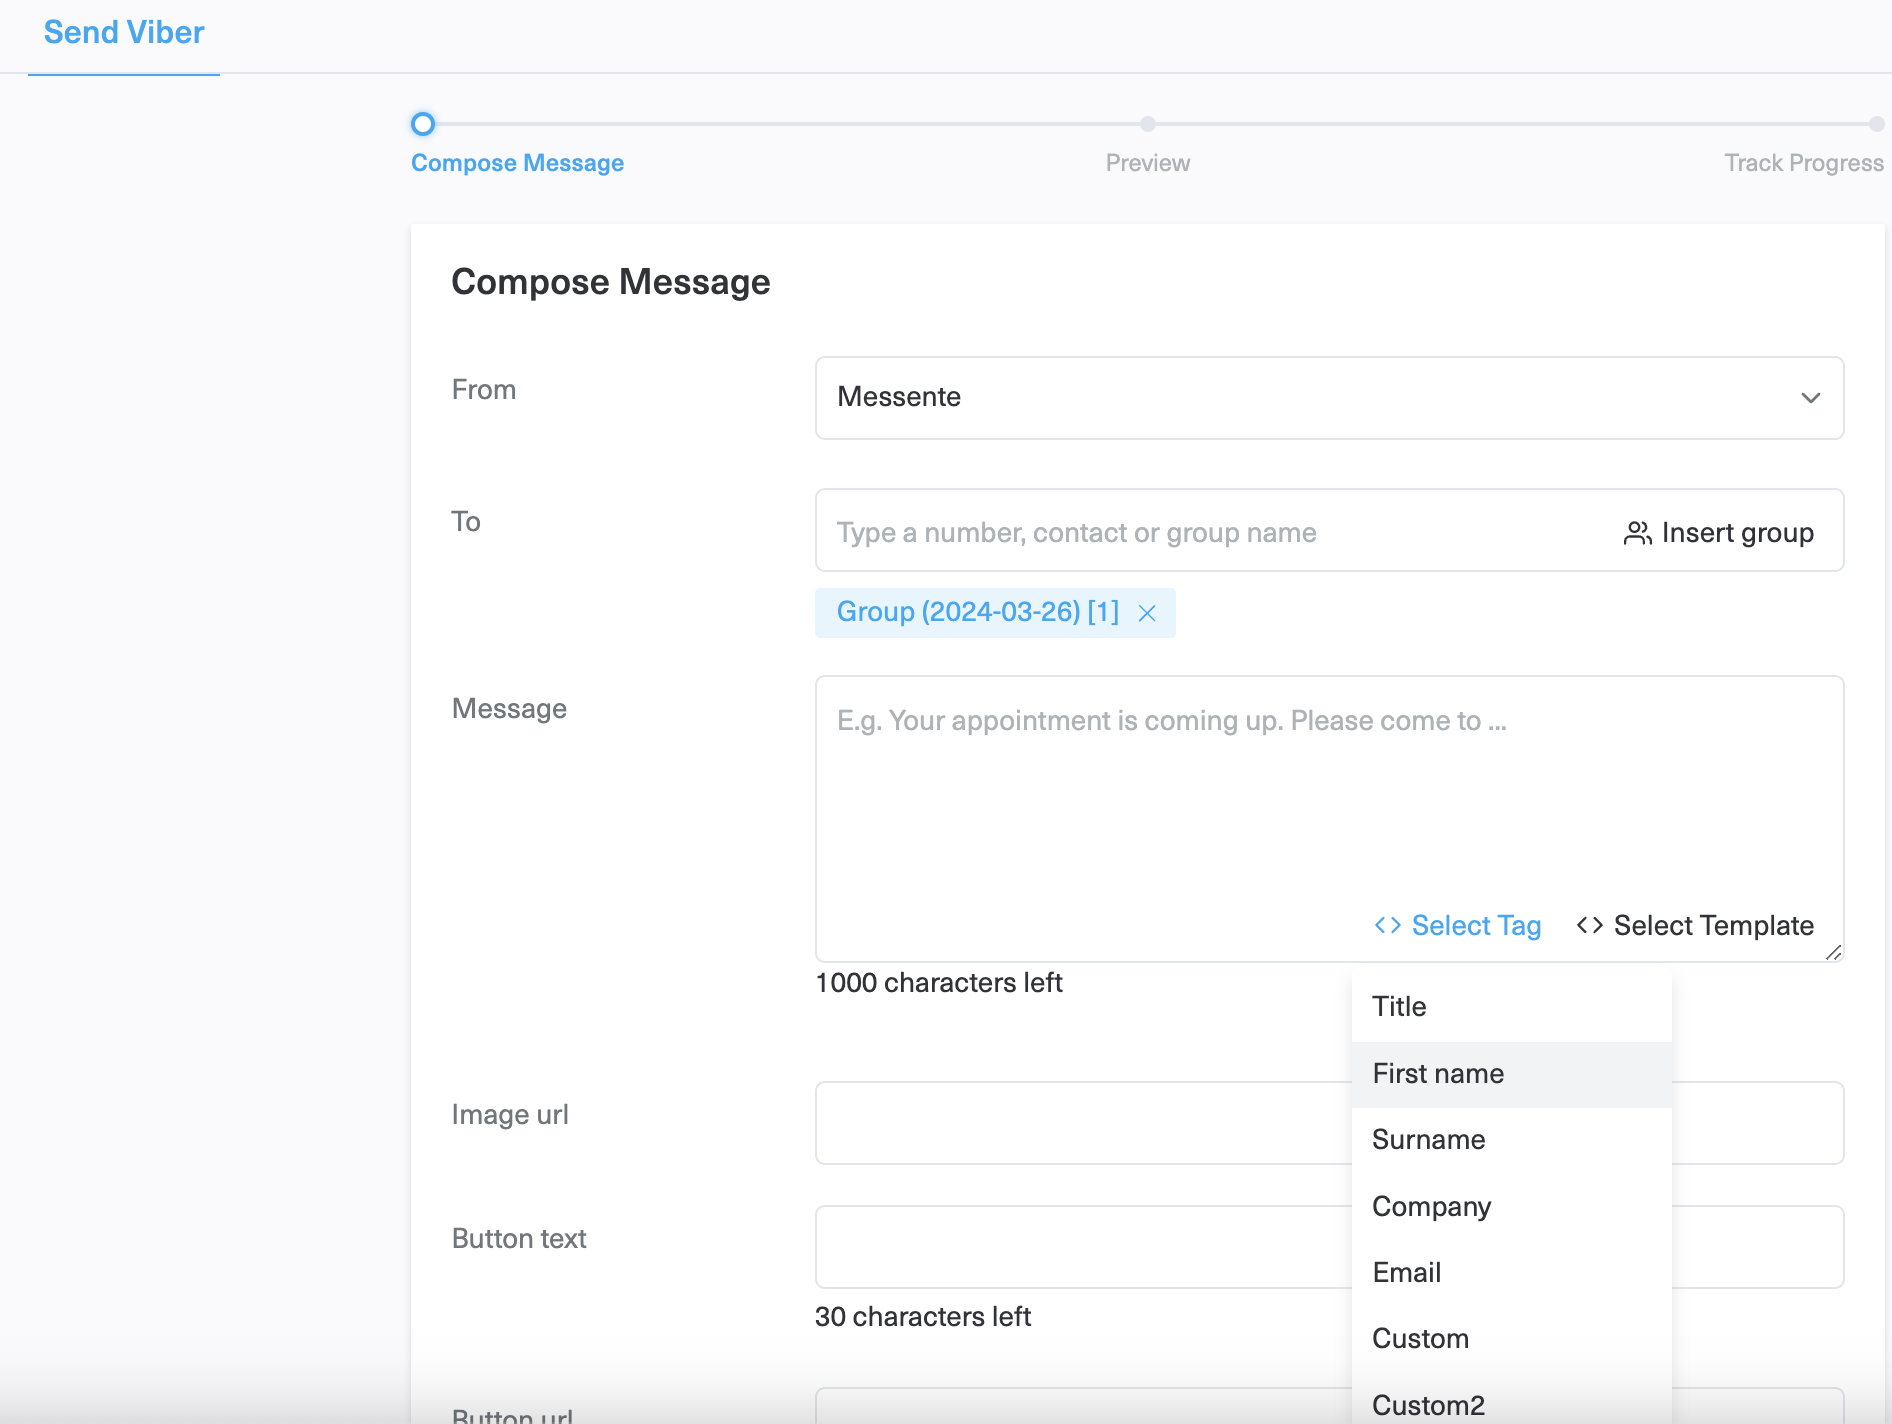
Next, type your content into the message field. Click on the Select tag dropdown menu and select the ones you need for personalisation. When adding tags be sure to follow the exact format - tags are case sensitive. The tags should appear in the message draft as:
<Title>
<Firstname>
<Surname>
<Company>
<Email>
<Custom>
<Custom2>
<Custom3>
<Custom4>
Please also be mindful if the info for relevant tag you are adding exists in the Phonebook you are using. For example, if some contacts on the phonebook do not have last name, but you use <Surname> they will be sent the tag placeholder in the message content, not the name.
You can preview your custom Viber messages before you send it. The tags pull through the relevant information from your database when the text is sent. Preview's statistics will also display information about message costs.
Using templates
You can save frequently used message content by creating a new template.
- After writing the content, click on the Templates button above the Message field and then Save As Template for future use.
P.S. You can also set a title for your template by using squared brackets in front of the content. After the template has been named and saved, re-select the saved template from the templates menu. - Whenever you wish to use the template, click on the Templates button above the Message field and choose the desirable one from your saved Templates.
